
Peanut Butter Brownie Cookies: A Delightful Treat
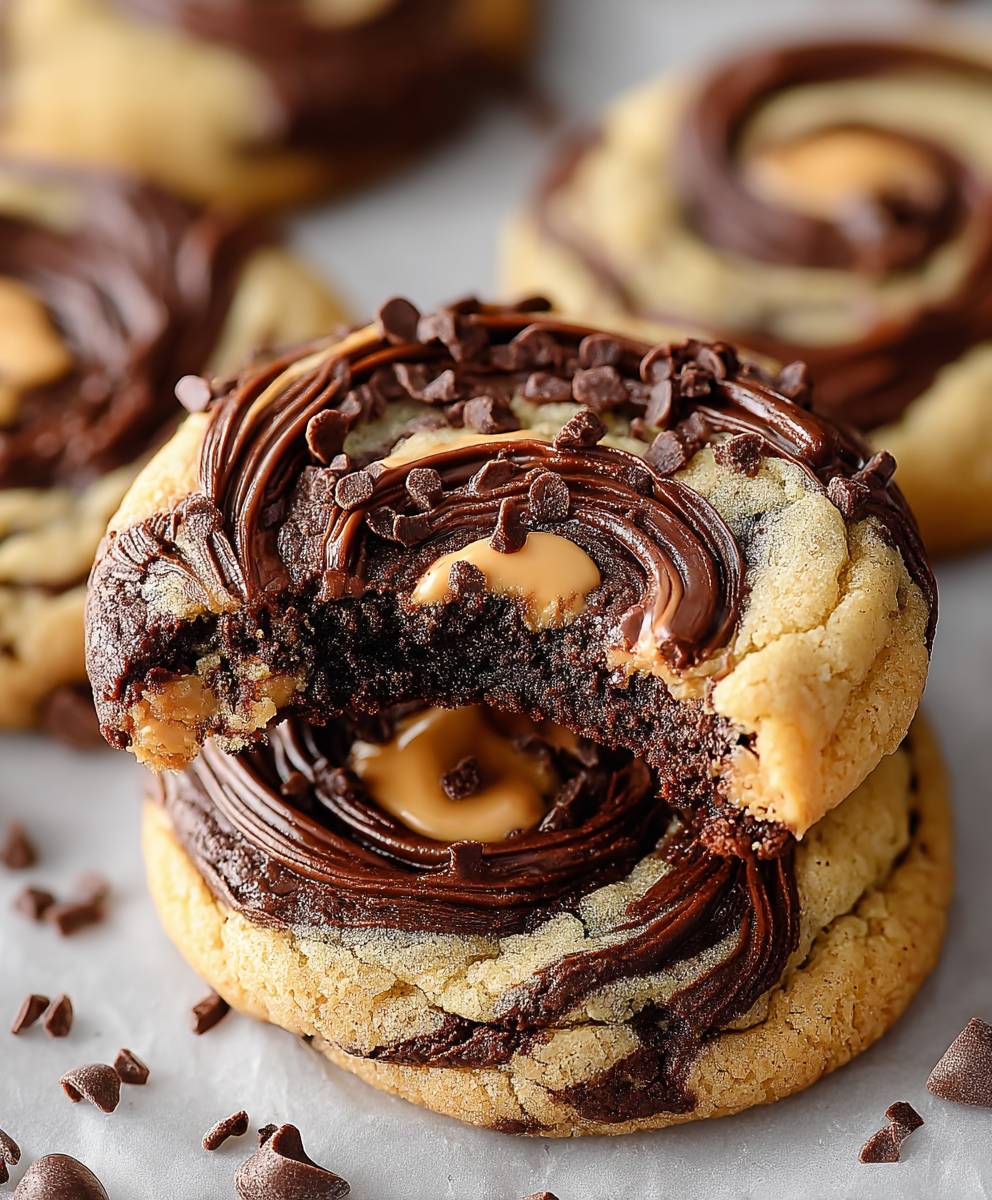
Peanut Butter Brownie Cookies are a heavenly fusion of two beloved desserts that will leave your taste buds dancing with joy. Imagine biting into a soft, chewy cookie that combines the rich, fudgy texture of brownies with the creamy, nutty flavor of peanut butter. This delightful treat is not just a cookie; it’s an experience that brings comfort and satisfaction in every bite.
The origins of peanut butter cookies date back to the early 20th century, but when combined with brownies, they create a modern twist that has captured the hearts of many. People love these cookies for their perfect balance of sweetness and richness, making them an ideal dessert for any occasion. Whether you’re hosting a gathering or simply indulging in a sweet craving, Peanut Butter Brownie Cookies are incredibly convenient to make and are sure to impress your family and friends.
Join me as we dive into this delicious recipe that celebrates the best of both worlds, and discover why Peanut Butter Brownie Cookies are a must-try for any dessert lover!

Ingredients:
- 1 cup creamy peanut butter
- 1 cup granulated sugar
- 1 large egg
- 1 teaspoon vanilla extract
- 1/2 cup unsweetened cocoa powder
- 1/2 teaspoon baking soda
- 1/4 teaspoon salt
- 1/2 cup chocolate chips (optional)
- 1/2 cup chopped nuts (optional)
Preparing the Dough
- Preheat the oven: Start by preheating your oven to 350°F (175°C). This ensures that your cookies bake evenly and come out perfectly chewy.
- Mix the wet ingredients: In a large mixing bowl, combine 1 cup of creamy peanut butter, 1 cup of granulated sugar, 1 large egg, and 1 teaspoon of vanilla extract. Use a hand mixer or a whisk to blend these ingredients together until the mixture is smooth and creamy. This step is crucial as it helps to incorporate air into the batter, making your cookies light and fluffy.
- Sift the dry ingredients: In a separate bowl, sift together 1/2 cup of unsweetened cocoa powder, 1/2 teaspoon of baking soda, and 1/4 teaspoon of salt. Sifting helps to break up any clumps in the cocoa powder and ensures that the baking soda is evenly distributed throughout the dough.
- Combine wet and dry ingredients: Gradually add the dry ingredients to the wet mixture. Stir gently with a spatula or wooden spoon until just combined. Be careful not to overmix, as this can lead to tough cookies.
- Add chocolate chips and nuts: If you’re using chocolate chips and/or chopped nuts, fold them into the dough at this stage. This adds extra texture and flavor to your cookies, making them even more delicious!
Shaping the Cookies
- Prepare the baking sheet: Line a baking sheet with parchment paper or a silicone baking mat. This prevents the cookies from sticking and makes for easy cleanup.
- Scoop the dough: Using a cookie scoop or a tablespoon, scoop out portions of the dough and place them on the prepared baking sheet. Make sure to leave about 2 inches of space between each cookie, as they will spread while baking.
- Flatten the cookies: Gently press down on each cookie dough ball with the back of a fork or your fingers to flatten them slightly. This helps them to bake evenly and gives them a nice shape.
Baking the Cookies
- Bake the cookies: Place the baking sheet in the preheated oven and bake for 10-12 minutes. Keep an eye on them; you want the edges to be set while the centers remain slightly soft. They will continue to firm up as they cool.
- Cool the cookies: Once baked, remove the cookies from the oven and let them cool on the baking sheet for about 5 minutes. This allows them to set before transferring them to a wire rack.
- Transfer to a wire rack: After 5 minutes, carefully transfer the cookies to a wire rack to cool completely. This step is important as it prevents them from becoming soggy on the bottom.
Storing the Cookies
- Store in an airtight container: Once the cookies are completely cool, store them in an airtight container at room temperature. They will stay fresh for up to a week, but I doubt they’ll last that long!
- Freezing the cookies: If you want to save some for later, you can freeze the cookies. Place them in a single layer on a baking sheet and freeze until solid. Then, transfer them to a freezer-safe bag or container. They can be frozen for up to 3 months. When you’re ready to enjoy them, simply thaw at room temperature or pop them in the microwave for a few seconds.
Serving Suggestions
- Serve these cookies warm with a glass of cold
Conclusion:
If you’re looking for a delightful treat that combines the rich, fudgy goodness of brownies with the creamy, nutty flavor of peanut butter, then these Peanut Butter Brownie Cookies are an absolute must-try! The unique texture and flavor profile of these cookies make them a standout dessert that will impress your family and friends. Each bite offers a perfect balance of sweetness and richness, making them an ideal indulgence for any occasion.
One of the best things about these cookies is their versatility. You can enjoy them as they are, or you can elevate them with a few simple serving suggestions. For a decadent dessert, try pairing them with a scoop of vanilla ice cream or a dollop of whipped cream. The contrast of the warm cookie with the cold ice cream creates a delightful experience that is hard to resist. If you’re feeling adventurous, consider drizzling some melted chocolate or caramel sauce over the top for an extra layer of flavor.
Additionally, you can easily customize these Peanut Butter Brownie Cookies to suit your taste preferences. Want a little crunch? Add some chopped nuts or chocolate chips into the dough before baking. If you prefer a more intense peanut butter flavor, try using crunchy peanut butter instead of creamy. You can even experiment with different types of chocolate, such as dark or white chocolate, to create your own unique twist on this classic recipe.
I encourage you to give these cookies a try and experience the joy they bring. Baking can be a wonderful way to unwind and express your creativity, and these cookies are the perfect project for both novice and experienced bakers alike. Once you’ve made them, I would love to hear about your experience! Share your thoughts, variations, and any tips you might have in the comments below or on social media.
Remember, the joy of baking is not just in the final product but also in the process and the memories you create along the way. So gather your ingredients, preheat your oven, and get ready to enjoy the deliciousness of Peanut Butter Brownie Cookies. Happy baking!
Peanut Butter Brownie Cookies: The Ultimate Recipe for Chocolate Lovers
Enjoy these rich and chewy chocolate peanut butter cookies, featuring a delightful blend of creamy peanut butter and cocoa. Perfect for any occasion, they are easy to make and can be customized with chocolate chips or nuts for an extra treat!
Ingredients
- 1 cup creamy peanut butter
- 1 cup granulated sugar
- 1 large egg
- 1 teaspoon vanilla extract
- 1/2 cup unsweetened cocoa powder
- 1/2 teaspoon baking soda
- 1/4 teaspoon salt
- 1/2 cup chocolate chips (optional)
- 1/2 cup chopped nuts (optional)
Instructions
- Preheat the oven to 350°F (175°C).
- In a large mixing bowl, combine the peanut butter, granulated sugar, egg, and vanilla extract. Blend until smooth and creamy.
- In a separate bowl, sift together the cocoa powder, baking soda, and salt.
- Gradually add the dry ingredients to the wet mixture, stirring gently until just combined.
- Fold in chocolate chips and/or chopped nuts if using.
- Line a baking sheet with parchment paper or a silicone baking mat.
- Using a cookie scoop or tablespoon, scoop out portions of dough and place them on the prepared baking sheet, leaving about 2 inches of space between each cookie.
- Gently press down on each cookie dough ball to flatten them slightly.
- Place the baking sheet in the preheated oven and bake for 10-12 minutes, until the edges are set and the centers are slightly soft.
- Remove from the oven and let cool on the baking sheet for about 5 minutes.
- Carefully transfer the cookies to a wire rack to cool completely.
- Once cool, store cookies in an airtight container at room temperature for up to a week.
- For longer storage, freeze cookies in a single layer until solid, then transfer to a freezer-safe bag or container for up to 3 months.
Notes
- For a richer flavor, consider using dark chocolate cocoa powder.
- Feel free to customize with your favorite mix-ins like dried fruit or different types of nuts.


Leave a Comment