
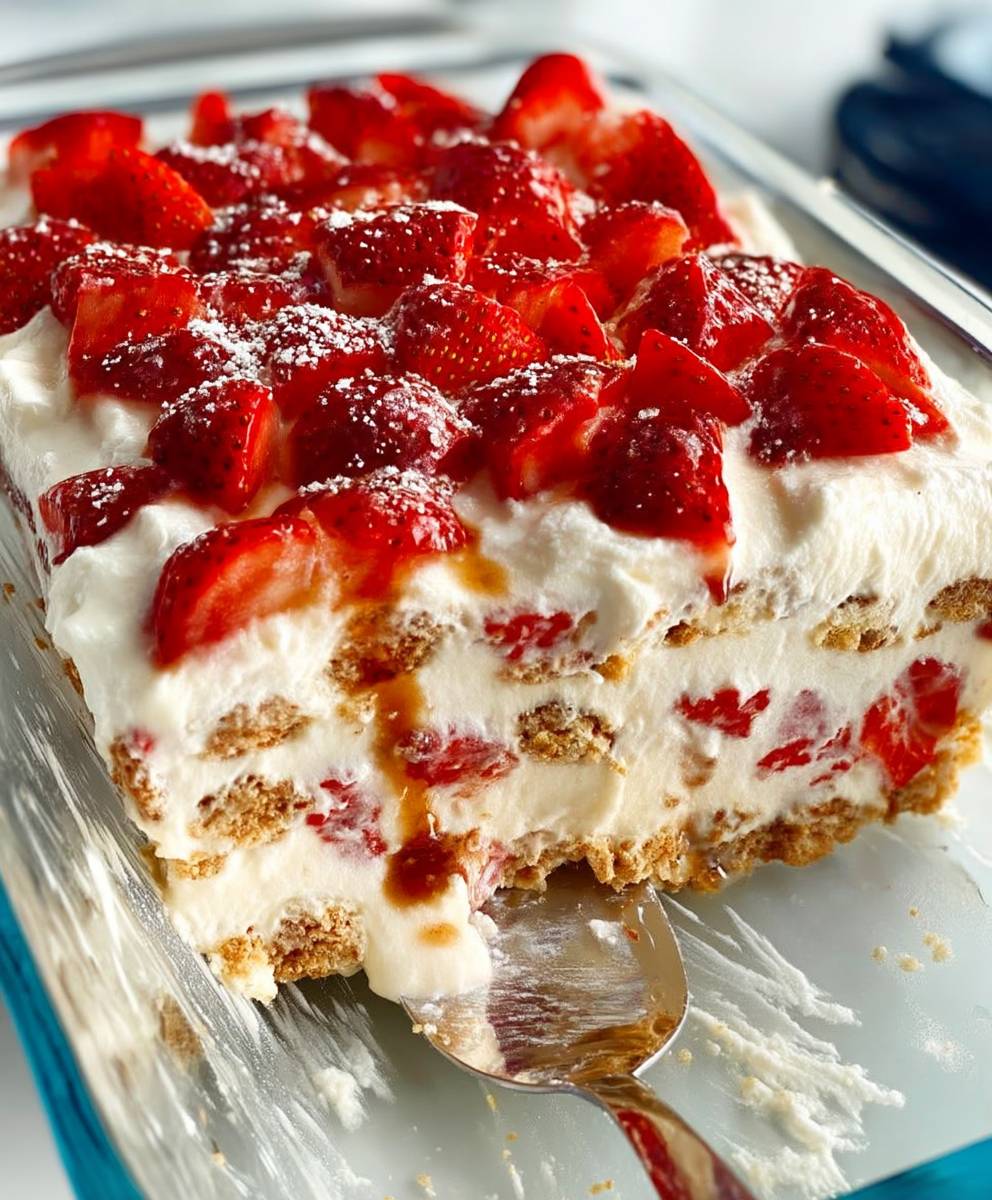
Strawberry Icebox Cake: A Refreshing Delight
Strawberry Icebox Cake is a delightful dessert that brings a burst of summer flavors to your table, no matter the season. This no-bake treat combines layers of luscious strawberries, creamy whipped topping, and soft graham crackers, creating a harmonious blend of taste and texture that is simply irresistible. Originating from the classic American dessert tradition, the icebox cake has been a beloved staple at family gatherings and picnics for generations.
What makes Strawberry Icebox Cake so special is not just its refreshing taste, but also its convenience. With minimal preparation and no baking required, it’s the perfect dessert for those warm days when you want something sweet without the fuss. People love this dish for its lightness and the way the flavors meld together as it chills in the refrigerator, making each bite a creamy, fruity experience. Whether you’re serving it at a summer barbecue or enjoying it as a weeknight treat, Strawberry Icebox Cake is sure to impress and satisfy your sweet cravings.

Ingredients:
- 2 cups of heavy whipping cream
- 1 cup of powdered sugar
- 1 teaspoon of vanilla extract
- 1 pound of fresh strawberries, hulled and sliced
- 1 package (14.4 ounces) of graham crackers
- 1/4 cup of milk (for dipping the graham crackers)
Preparing the Whipped Cream
- In a large mixing bowl, pour in the 2 cups of heavy whipping cream. Make sure your bowl is cold; this helps the cream whip better.
- Add 1 cup of powdered sugar to the bowl. This will sweeten the cream and give it a lovely texture.
- Pour in 1 teaspoon of vanilla extract for flavor. You can use pure vanilla extract for a richer taste.
- Using an electric mixer, beat the mixture on medium speed until soft peaks form. This usually takes about 3-5 minutes. Be careful not to overbeat, or you’ll end up with butter!
Preparing the Strawberries
- While the whipped cream is coming together, take your 1 pound of fresh strawberries. Rinse them under cold water and gently pat them dry with a paper towel.
- Hull the strawberries by removing the green tops and slice them into thin pieces. Aim for about 1/4 inch thick slices to ensure they layer nicely in the cake.
- Set the sliced strawberries aside in a bowl. If you like, you can sprinkle a little sugar over them to enhance their sweetness, especially if they are not perfectly ripe.
Assembling the Icebox Cake
- Grab a 9×13 inch baking dish or a similar-sized container. This will be the base for your icebox cake.
- Pour 1/4 cup of milk into a shallow dish. This will be used to dip the graham crackers.
- Take a graham cracker and quickly dip it into the milk, making sure to coat both sides but not letting it soak. You want it to be moist but not falling apart.
- Place the dipped graham cracker in the bottom of the baking dish. Repeat this process until you cover the entire bottom of the dish with a single layer of graham crackers.
- Spread a layer of the whipped cream mixture over the graham crackers, using about one-third of the whipped cream. Make sure to spread it evenly.
- Next, add a layer of sliced strawberries on top of the whipped cream. Use about half of the sliced strawberries for this layer, spreading them out evenly.
- Repeat the process: dip more graham crackers in milk and layer them on top of the strawberries. Follow with another third of the whipped cream and the remaining sliced strawberries.
- For the final layer, dip more graham crackers and place them on top. Spread the remaining whipped cream over the top layer of graham crackers, smoothing it out with a spatula.
Chilling the Cake
- Once assembled, cover the baking dish with plastic wrap or aluminum foil. This will help keep the moisture in and prevent the cake from drying out.
- Place the icebox cake in the refrigerator for at least 4 hours, but overnight is even better. This allows the graham crackers to soften and the flavors to meld together.
Serving the Icebox Cake
- After chilling, remove the cake from the refrigerator. If you used plastic wrap, carefully peel it off.
- Using a sharp knife, cut the cake into squares or rectangles, depending on your preference.
- For an extra touch, you can garnish each slice with a fresh strawberry or a dollop of whipped cream.
- Serve immediately and enjoy the refreshing taste of your homemade strawberry icebox cake!
Storage Tips
- If you have any leftovers, cover the cake tightly with plastic wrap or aluminum foil and store it in the refrigerator. It should last for about 3-4 days.
- Keep in mind that the graham crackers may continue to
Conclusion:
If you’re looking for a dessert that’s not only delicious but also incredibly easy to make, then this Strawberry Icebox Cake is a must-try! With its layers of creamy whipped topping, fresh strawberries, and graham crackers, this cake is a delightful treat that captures the essence of summer in every bite. The combination of textures and flavors creates a refreshing dessert that is perfect for any occasion, whether it’s a family gathering, a picnic, or simply a sweet indulgence after dinner.
One of the best things about this Strawberry Icebox Cake is its versatility. You can easily customize it to suit your taste preferences or dietary needs. For a twist, consider adding a layer of chocolate ganache or using different fruits like blueberries or raspberries for a mixed berry version. If you’re looking for a gluten-free option, simply substitute the graham crackers with gluten-free cookies or even crushed nuts. You can also experiment with flavored whipped toppings, such as vanilla or almond, to add an extra layer of flavor to your cake.
When it comes to serving suggestions, this Strawberry Icebox Cake shines brightest when served chilled. I recommend letting it sit in the refrigerator for at least four hours, or even overnight, to allow the flavors to meld beautifully. For an elegant presentation, garnish each slice with a dollop of whipped cream and a fresh strawberry on top. You can also sprinkle some crushed graham crackers or a drizzle of chocolate sauce for added flair. This cake is not only a feast for the taste buds but also a visual delight that will impress your guests.
I encourage you to give this Strawberry Icebox Cake a try! It’s a simple yet impressive dessert that is sure to become a favorite in your household. Whether you’re making it for a special occasion or just to satisfy a sweet craving, I promise you won’t be disappointed. Once you’ve made it, I’d love to hear about your experience! Share your thoughts, any variations you tried, or even a photo of your creation. Your feedback not only inspires me but also helps others discover the joy of making this delightful Strawberry Icebox Cake. So, roll up your sleeves, gather your ingredients, and let’s get baking!
Strawberry Icebox Cake: A Refreshing No-Bake Dessert Recipe
This no-bake Strawberry Icebox Cake features layers of creamy whipped topping, fresh strawberries, and graham crackers, making it a refreshing dessert perfect for warm days. Easy to assemble and best enjoyed within a few days, it’s a delightful treat that combines sweetness and texture in every bite.
Ingredients
- 2 cups of heavy whipping cream
- 1 cup of powdered sugar
- 1 teaspoon of vanilla extract
- 1 pound of fresh strawberries, hulled and sliced
- 1 package (14.4 ounces) of graham crackers
- 1/4 cup of milk (for dipping the graham crackers)
Instructions
- In a large mixing bowl, pour in the 2 cups of heavy whipping cream. Make sure your bowl is cold; this helps the cream whip better.
- Add 1 cup of powdered sugar to the bowl. This will sweeten the cream and give it a lovely texture.
- Pour in 1 teaspoon of vanilla extract for flavor. You can use pure vanilla extract for a richer taste.
- Using an electric mixer, beat the mixture on medium speed until soft peaks form. This usually takes about 3-5 minutes. Be careful not to overbeat, or you’ll end up with butter!
- While the whipped cream is coming together, take your 1 pound of fresh strawberries. Rinse them under cold water and gently pat them dry with a paper towel.
- Hull the strawberries by removing the green tops and slice them into thin pieces. Aim for about 1/4 inch thick slices to ensure they layer nicely in the cake.
- Set the sliced strawberries aside in a bowl. If you like, you can sprinkle a little sugar over them to enhance their sweetness, especially if they are not perfectly ripe.
- Grab a 9×13 inch baking dish or a similar-sized container. This will be the base for your icebox cake.
- Pour 1/4 cup of milk into a shallow dish. This will be used to dip the graham crackers.
- Take a graham cracker and quickly dip it into the milk, making sure to coat both sides but not letting it soak. You want it to be moist but not falling apart.
- Place the dipped graham cracker in the bottom of the baking dish. Repeat this process until you cover the entire bottom of the dish with a single layer of graham crackers.
- Spread a layer of the whipped cream mixture over the graham crackers, using about one-third of the whipped cream. Make sure to spread it evenly.
- Next, add a layer of sliced strawberries on top of the whipped cream. Use about half of the sliced strawberries for this layer, spreading them out evenly.
- Repeat the process: dip more graham crackers in milk and layer them on top of the strawberries. Follow with another third of the whipped cream and the remaining sliced strawberries.
- For the final layer, dip more graham crackers and place them on top. Spread the remaining whipped cream over the top layer of graham crackers, smoothing it out with a spatula.
- Once assembled, cover the baking dish with plastic wrap or aluminum foil. This will help keep the moisture in and prevent the cake from drying out.
- Place the icebox cake in the refrigerator for at least 4 hours, but overnight is even better. This allows the graham crackers to soften and the flavors to meld together.
- After chilling, remove the cake from the refrigerator. If you used plastic wrap, carefully peel it off.
- Using a sharp knife, cut the cake into squares or rectangles, depending on your preference.
- For an extra touch, you can garnish each slice with a fresh strawberry or a dollop of whipped cream.
- Serve immediately and enjoy the refreshing taste of your homemade strawberry icebox cake!
Notes
- If you have any leftovers, cover the cake tightly with plastic wrap or aluminum foil and store it in the refrigerator. It should last for about 3-4 days.
- Keep in mind that the graham crackers may continue to soften over time, so it’s best enjoyed within the first couple of days for optimal texture.


Leave a Comment